|
Beginnings of a Modular Layout,
or how I picked up yet another scale…
An abridged version of this report will be published in
the ETE Express, No. 118, 2nd Quarter, 2008.
N-Scale Module for ETE-CNY Chapter Layout | Latest
| Deutsche Version
Prelude:
As many of you have been able to follow online, the Central
New York Chapter of European Train Enthusiasts embarked on a modular layout
project in December of 2006. Basis for the layout is the n-scale Bend
Track standard with some modifications. N-scale was selected because it
allowed for more scenery in a limited space and because given our diverse
nature of scales it dominated least and there was an abundance of stock.
The Bend Track standard was selected
because it allows for the creation of a functional “round-and-round”
layout with two modules, making it ideal for our small chapter. The Bend
Track standard was also attractive because it allows modules of almost
any length or shape (with 24" depth), viewing from both sides, and
avoids having an "operating pit." For standardization, and because
most of us don’t have woodworking shops, we decided to go with Sievers
Benchwork. To date we have 5 modules in various states of construction.
All participants in the project are free to scenic/design their modules
as they wish. While not ideal in the sense that there will be little continuity
between modules, it does allow everyone maximum freedom of expression.
What follows is report on the construction of my module segment, in a
scale with which I had no experience or investment in whatsoever.
Thematic Genesis:
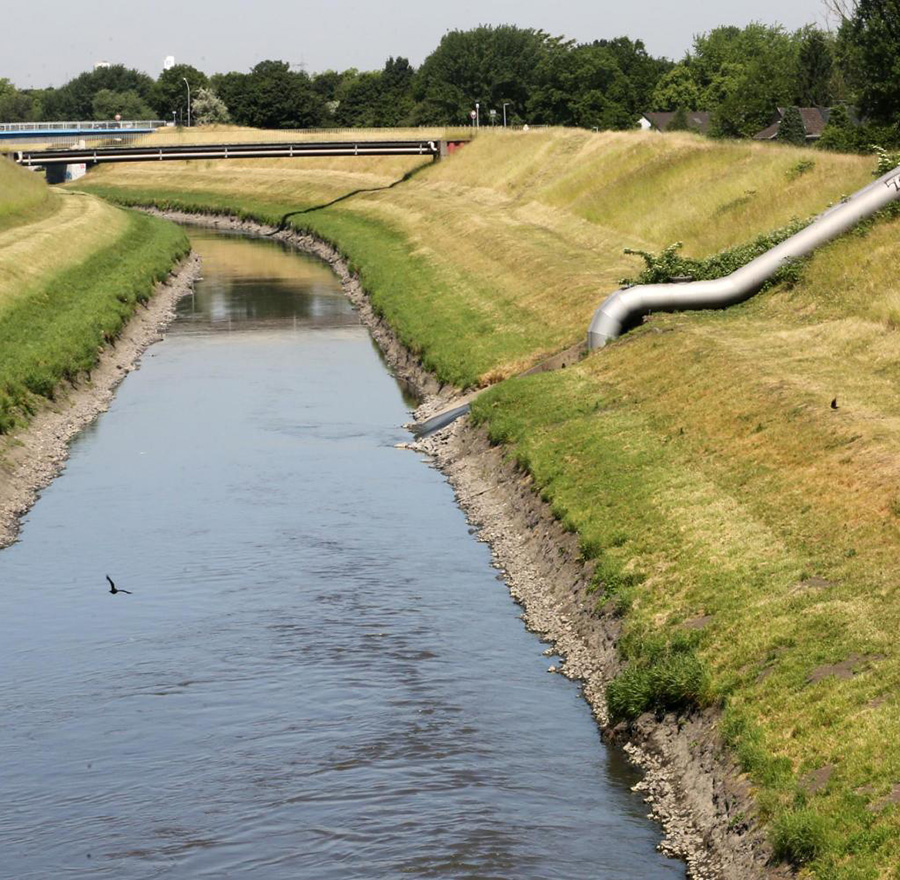
Thematically this module is set in Germany's industrial Ruhr Valley sometime
between the mid-50s and mid 70s. It could just as easily be set in the
DDR, my other area of interest, in a scenic hotspot such as Bitterfeld.
This means that scenery is the antithesis of bucolic alpine meadows. Scenic
elements will feature a river which has lost all of its natural charm
and become a sort of open sewer, with the Emscher
in the Ruhr region serving as my model. On one side of the river trees
and some green will form the transition to the next module. A row of rather-run
down workers' housing and small industrial building line the road that
crosses over the tracks on both sides of the module. A retaining wall
is the transition to the next module on that side. Having visited and
lived in that region my memories are vivid, and what I couldn’t
remember was easily found online at sites like Drehscheibe
Online.
Construction Begins:
Once the Chapter had agreed on the standards and our module specification,
I quickly began work, and by mid-January had made a good bit of progress.
As Bend Track is very flexible in regards to shape and length, I decided
to make my segment three feet long to allow it to easily fit in any of
our cars. Included in this length are cardboard strips at the end that
strengthen the foam and ensure a flat mating surface. The module top itself
only rests on the frame and legs (locked in place by the river) so that
it can be removed to work on elsewhere.
 
Click on images to enlarge.
Topographic contours were made by building up layers of pink foam insulation,
or cutting it away as in the case of the river. This was then covered
with spackle and sculpted further. After the riverbed was painted a suitable
murky color, Woodland Scenics’ “Realistic Water” was
poured, and retaining walls using printed sheets from Scalescenes put
in place for the underpasses. The track was only temporarily put in place
to allow for a wiring demonstration during our Chapter's meeting, during
which the first structure, the Bergbau-Grill
was also built a product of preparations for a quick demonstration of
card modeling techniques. This allowed the “workers” to grab
a quick curry-wurst between construction shifts. The street-level the
Grill is resting and the outside retaining walls will be glued down when
ballasting has been completed.

The first major scratchbuilt elements for the module were the two bridges
that span the river. Finishing these was a priority so that the track
could be permanently adhered and ballasted. Inspiration was gathered by
viewing bridges spanning the Emscher from above via Google
Earth, videos, print publications, and kit manufacturer's catalogs.
These gave a sense of the style and proportions of the bridges in relation
to the track, railroad stock, and landscape. While some details will invariably
be off, I believe I captured the general proportions and overall feel
of the originals they are based on. Google Earth was an amazing resource
because the quality of images for the region allowed me to zoom in to
a great level of detail and the angles and time-of-day for the images
showed construction details, including those created by shadows.
 
Bridge under construction | Completed bridges spanning the river
Click on images to enlarge.
As in nature, I made the river first and was then left to find/make the
appropriate length bridge. As it turned out, the span was either too wide
or narrow for a commercial product, necessitating scratchbuilding and
providing wonderful challenge. Both bridges are made entirely of card
and have been detailed and weathered. The base paint color is black acrylic
with a rusty overcoat and grime. Paint was applied with an airbrush. The
image above shows both finished bridges in final position with the track
ballasted. The surface where the street and structures will be placed
was then glued into position, but not before the track was cleaned and
an engine test run on each track.
The street is made from n-scale (but oversized) Noch cobblestones with
sidewalks made from pattern sheets by scalescenes. Both were weathered
and distressed, the street with large areas of patching.
The Structures:
 
The Bergbau-Grill | Smail industrial building
Click on images to enlarge.
After the Bergbau-Grill, the next structure
was a small
industrial building adapted from a downloadable card model. The basic
kit was expanded to double its size by printing out and modifying several
more kits. Following construction it was weathered and then selectively
covered in ivy. On the module the building is behind a wall with an old
sheet metal gate, waiting for someone to re-occupy it. For any number
of reasons, this would mark the end of construction for about five months.
In August, work had restarted in earnest largely motivated by our Chapter’s
test of the modules at the end of September, and I wanted to be as close
to finished by then as possible. Next, the residential structures scratchbuilt
using images on the Busch background CD, Stipp card relief models, and
printed sheets and kits from Scalescenes.
The technique applied is as described in my article "Modeling
Structures in Card," published in Express, No. 112, 4th Quarter,
2006. The only significant difference was that everything was half the
size, and details particularly challenging to cut out. The retaining
wall was a Scalescenes kit.


Click on images to enlarge.
Condition of structures and detailing will reflect postwar realities
that existed well into the 60s, especially in depressed or industrial/workers
areas, East or West. This includes braces to secure walls on the structures
to either side of one that no longer exists, a result of war damage or
subsidence due to mining activity. Backyards were also walled in. A Quonset
hut kit from Clever Brothers was added to a vacant lot. As this was based
on an American prototype, windows and doors were made more German by replacing
with printouts from a Gleimo kit that
fit almost perfectly. Also added was a bus shelter kit by Scalescenes.
While an English prototype, it fit in well with the region. The kit is
available as a free download in a variety of scales. Structures were pre-weathered
and had ivy adhered prior to securing on the module and final weathering.
After the structures were glued into place my attention turned to scenery.
Trees were made using the natural Scenic Express Supertrees, bushes and
weedy lots added, and for some cheerful color, sunflowers from kits by
Busch. Then, figures and other small details were secured in place. Finally,
the module cardboard edging was completed and sealed with Tyvek tape that
was painted black along with the frame to protect the soft foam from wear
and make the whole module more durable. To make transport of the module
easier, a wheeled dolly was constructed of pvc tubing that allows us to
roll the module to and from the car and inside venues.
 
Click on images to enlarge.
The first test assembly of the modules was held on September 29, in advance
of the public unveiling of the layout at the Central New York Train Fair
in Syracuse, NY on November 3-4. The test revealed a few problem areas
(as there always will be with things like this), and work is still in
progress on 3 of the 5 modules. Nevertheless, the trains all ran well,
and it was good to see that the concept worked. It was even nicer to see
the progression that had been made on the other modules in the intervening
time. Click
here for a brief video of trains meeting on the bridge. Requires QuickTime.
Conclusion, Or Just The Beginning:
Because we really need to add yet another layout and scale to the household,
my family and I decided to build some additional modules to add to our
Chapter’s capacity. My wife is constructing an end and module with
a quarry scene and our daughter constructing a smaller straight segment
with Gaststätte and Wildpark, both complete at publication of this
article. I will also be building an endmodule so that we can run our two
trains independent of the Chapter. In order to fit on the dolly all will
all be based on a three-foot frame, overhanging as necessary. By not permanently
attaching the tops to the frame, it will also be possible to connect the
modules on a table or other flat surface. Standardized “blocks”
under the module raise them to the same level and give space for wiring
while Velcro can be used to snuggly connect the segments. All this will
ensure maximum flexibility and fun.
 
Hope working on scenicing her "quarry" end module | Sofia building
a kit for her module

Sofia's (center) and Hope's (right) modules connected together with Peter's
(far left). The modules were connected in the living room and now Peter
must really start with his end module so that we can run trains.

The Other End Loop:
Finally began construction on my end module in mid-February and quickly
made progress. The module consists of two levels with the flats and other
buildings over the loop. To ensure easy access the loop is painted black
on in the inside making it more or less invisible, yet providing interesting
viewing as the trains go through (for those at that level, like kids that
love tunnels). First, completed construction of Walther's "gasometer"
(used to store the gas created as a by-product of the coking process)
and then scratchbuilt two blocks of pre-fab cast concrete flats as well
as the little garden shacks in the "grabeland,"
an informal community garden usually on land owned by the DB. The factory
was scaled down to the assembly hall shown (could be anything from locomotives
at Krupp in Essen or railroad wheels at the Bochumerverein, or other heavy
industrial products) with a an overgrown vacant lot adjacent. To make
the trackage more interesting, a siding was added next to the gasometer,
the turnout also doubling as a connecting piece to the next module.
Click on images
to enlarge.
     
 
Click on images to enlarge.
"Aerial" View of Our Modules:

Click on image to enlarge.
With the completion of this module, my foray into n-scale
layout construction is concluded. While distracting (or detracting dependent
on mood) from my H0 layout, this project has provided (and no doubt will
continue to) some great opportunities to further develop my modeling and
detailing skills as a series of compact dioramas.I do, however, look forward
to hooking them together in our livingroom, or at shows. In the context
of our Chapter and ETE, I hope it continues to develop and that others
take up the challenge and join us in building modules. Likewise individuals
outside our group are invited to adopt the spec and join us at meets with
non-straight modules being especially encouraged.
Below a screengrab from our local Train Fair's website slideshow
showing me with the modules and a young fan. He was so happy to see the
trains he came back the next day and made it onto a video. More
on my Blog, Papphausen. Enjoy!

Appendix:
|


